Guy Fawkes, Grain and Glow: Editing Rain-Soaked Bonfire Night Photos
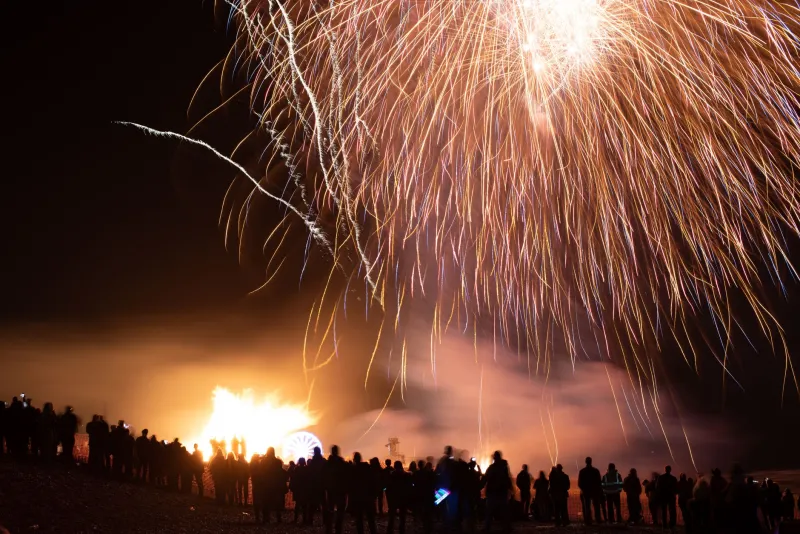
The fifth of November in Britain is a wonderful mess: damp air, burger vans, sparklers, and a camera pushed to ISO 6400 before you have even found a spot by the barrier. If you volunteered to shoot the local display, you will have hundreds of frames and a lingering smell of smoke in your coat. The temptation is to make everything crisp, neutral and tidy. Resist it. Bonfire Night should feel like Bonfire Night.
Cull first, edit second
Open the whole card in Adobe Bridge and start rating. Flag the keepers, mark the obvious misses, but do not delete anything yet. A blurred sparkler swirl can be the best frame in the set, and a slightly soft shot of a child watching the rocket trail can beat a technically perfect one of empty sky. Batch-rename the keepers with the event name and date so future you can find them, then set up a collection for the edit. This is also the moment to separate your print masters from your social exports; do not make that decision halfway through a noise-reduction session.
Noise: reduce it, do not erase it
High-ISO noise is part of the deal when you are shooting at dusk in November. In Photoshop, open your raw files through Camera Raw and use the Denoise option with a light hand. If you are working with JPEGs, duplicate the background layer, convert it for Smart Filters, and apply the Camera Raw filter so you can revisit the settings later. Luminance noise reduction around 20 to 30 and colour noise around 25 is usually enough for a community display. Pull back the detail slider if faces start looking like waxworks. For a whole set, select the images in Bridge, open them in Camera Raw, sync a baseline setting, then tweak the worst offenders individually. Keep some grain. It tells the truth about the conditions.
The orange-face problem
Firelight is gorgeous on the scene and less gorgeous on skin. Faces lit from below by a bonfire can look like they have been tangoed. Add a Hue/Saturation adjustment layer, target the reds and yellows, and reduce saturation by around 10 to 20 with a mask painted only over skin. Then use Color Balance on the midtones to add a touch of cyan and blue. Do not neutralise the whole image; the firelight on the background is the point. If you are editing a group, create a simple action that adds a masked adjustment layer and a curves layer, then brush the masks in by hand. It is not fully automatic, but it saves you from rebuilding the same stack twenty times.
Smoke, rain and detail
Smoke is not clutter; it is atmosphere. Use Dehaze in Camera Raw at around +10 rather than +50, then add a gentle S-curve to bring back structure. Dodge and burn on a separate layer at low opacity can lift detail in smoke without making it look like fog in a studio. Rain spots on the lens are trickier. Use the Spot Healing Brush on a duplicate layer for the worst offenders, but leave some streaks alone if they add mood. A few rain speckles can look more honest than a scene that has been scrubbed clean.
Batch the boring bits
Once you have a hero image you are happy with, build an action for the export routine: convert to sRGB, resize to around 2048 pixels on the long edge, apply a modest screen sharpening pass, add copyright metadata, and save as a JPEG at quality 80. Run it through File > Automate > Batch or use the Export panel in Bridge. Keep a full-size print master separate. For the organisers, a quick contact sheet is often more useful than a folder of 300 full-resolution files. For social media, crop a 4:5 version and a 1:1 version, but do not sharpen them twice.
The atmosphere test
Step away from the screen. Make a cup of tea. Come back and ask whether the photo feels like the evening you remember. If the faces are grey, the smoke has vanished and the sparks look like crisp little commas, you have gone too far. A good Bonfire Night edit keeps a bit of orange, a bit of grain and a bit of chaos. The best compliment is not ‘that is sharp’. It is ‘that is exactly what it felt like’.