Crumbs, Icing and Clean Worktops: Photoshop for the Home Baking Blogger
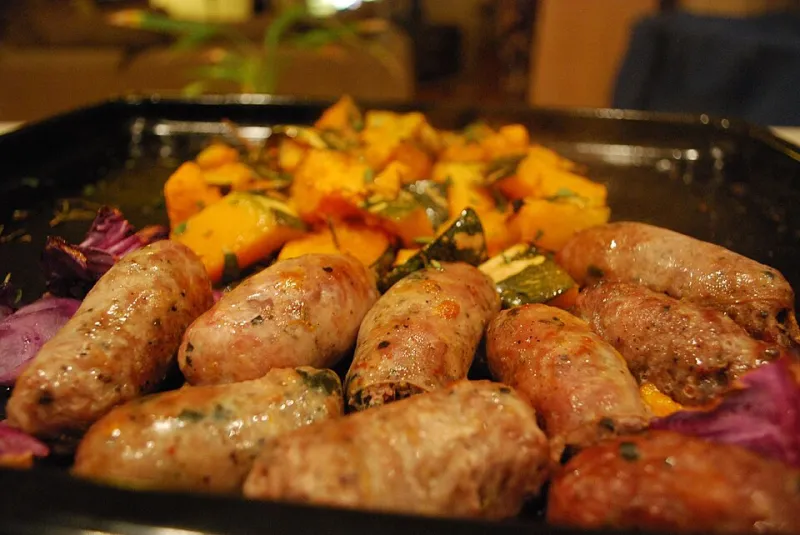
Photo: avlxyz, CC BY-SA 2.0, via Wikimedia Commons
You have baked a lemon drizzle, the light is fading, and the kitchen counter is covered in flour, a kettle and a tea towel that has seen better days. The photo looks homemade, but not in the good way. Welcome to the kitchen worktop studio: a few Photoshop moves that make amateur food photos look professional enough for a recipe card, a blog post or a very proud Instagram grid.
Fix the yellow before you fix the cake
Most UK kitchens are not lit for photography. Warm LED bulbs, a fluorescent strip or a window that has gone grey by 4pm will all push the colour in the wrong direction. Start in Camera Raw and use the eyedropper on a white plate, a sheet of baking paper or a clean tea towel. If the whites come back slightly warm, that is fine; cakes should not look icy. Use a Curves adjustment layer to set a gentle white point, then check the icing. If the buttercream is yellow when it should be cream, you have gone too far with the temperature slider. The goal is appetising, not clinical.
Clear the clutter without clearing the character
A cluttered background is the fastest way to make a good bake look like a snapshot. Use the Spot Healing Brush and Clone Stamp on a duplicate layer to remove plug sockets, washing-up liquid and random jars. In 2026, Generative Fill is tempting for bigger removals, but check the edges where it meets the cake board or a linen napkin. Keep a few props: a wooden board, a cooling rack, a small jug of flowers. Do not remove every crumb. Crumbs say someone has actually cut the cake. The trick is to remove distractions, not evidence of baking.
Texture: crumb, icing and fruit
Food photography lives and dies on texture. Use a high-pass sharpening layer on a duplicate, set to Overlay, and mask it to the cake rather than the whole frame. Or use Unsharp Mask with a radius around 1.0, amount around 80 and threshold around 2. In Camera Raw, a little Texture and Clarity goes a long way: try +10 Texture and +5 Clarity, not +50 of either. For icing, use Dodge and Burn on a separate layer to shape the highlights and give the swirl some form. For crumb, a touch of local contrast is enough. Avoid heavy noise reduction or blur on the cake itself; a plastic cake is worse than a slightly soft one.
Recipe-card ready
If the photo is heading for a recipe card, crop to A6 at 300 dpi and leave a comfortable margin. For home printing, RGB is fine; only switch to CMYK if you are sending the file to a proper press. Add a simple white border and keep any text out of the busiest part of the image. Export a PDF for print and a JPEG for the blog. If you are laying out the recipe card in Photoshop, use two or three fonts at most and keep the ingredients list aligned. The photo should sell the bake; the text should not fight it.
Instagram and the crumb shot
For Instagram, crop a 4:5 version for the feed and a 1:1 version for the grid, then export in sRGB. Sharpen for screen once, not twice. A close-up crumb shot is worth taking: cut a slice, photograph it on a plain plate, and use the same white-balance routine. If the inside looks dry, do not reach for the blur tool; adjust exposure and contrast instead. For blog headers, 1200 by 800 pixels is a safe starting point. Keep a full-size master of every image so you can re-export for a recipe card later.
The plastic test
Zoom out and look at the image as a whole. Does it look like a cake you would actually want to cut? If the icing has no texture, the crumbs have vanished and the colour is aggressively neutral, undo a few steps. A little mess is the point. The best food photos feel like they were taken in a real kitchen by someone who cares about the bake, not in a laboratory by someone who has never licked a spoon.