One Template, Every Fete: A Photoshop Print Kit for Village Hall Organisers
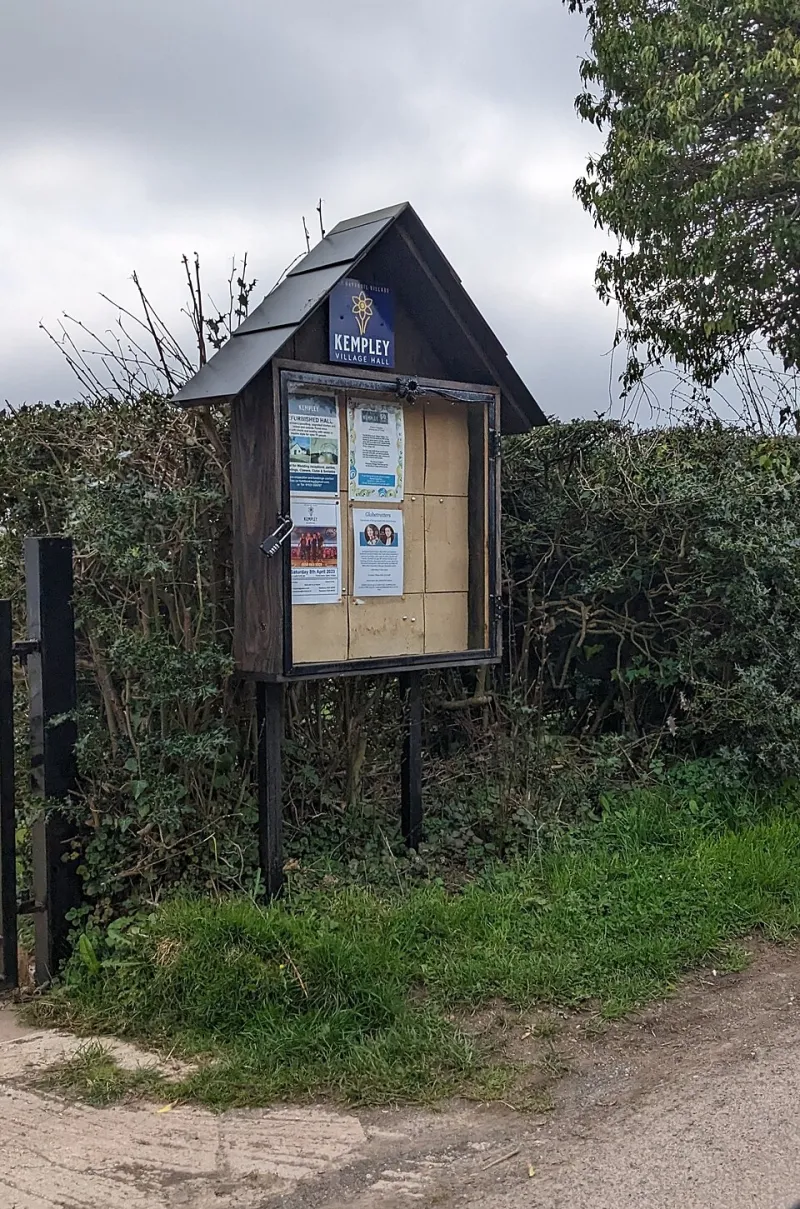
Photo: Jaggery , CC BY-SA 2.0, via Wikimedia Commons
Every village hall has one. The person with Photoshop, a printer-friendly A4 template and a WhatsApp group full of 'can you just add the raffle?' requests. If that is you, the answer is not a new poster every time. It is one solid master template that can become a quiz night, a Christmas fair, a charity coffee morning or a spring fete without starting from a blank canvas.
Decide the format before opening Photoshop
Start with the paper size, not the design. For most UK village halls, A4 is the noticeboard workhorse and A3 is the window poster. Build both from the same layout. In Photoshop, create the document at 300 ppi in CMYK. For A4 with 3 mm bleed, the canvas is 216 x 303 mm. For A3, it is 303 x 426 mm. The bleed is not decoration; it is the bit that stops a white edge appearing when the printer trims the sheet.
Set guides at 3 mm from each edge for the trim, then 13 mm from each edge for the safe margin. That gives you a 10 mm safe area inside the trim. Keep every piece of text, the logo and the QR code inside the safe zone. Backgrounds and photos can run into the bleed. If you are designing a poster for a local printer, ask them for their template before you build yours. It takes two minutes and saves an argument.
Build the layer stack once
A good template is boring in the best way. Make groups: Background, Photo, Colour Wash, Headline, Details, Footer and Logo. Put the photo and logo in as smart objects so you can swap them without losing quality. Keep all event text as live text layers. Use Character and Paragraph Styles for the headline, date, venue, price and small print. When the next organiser asks for 'the same but blue', you change a style, not 14 separate text layers.
Use two typefaces at most. One bold display face for the event name, one clean sans for details. Village hall posters are read from a distance and in a hurry, so contrast matters more than decoration. Put the event name, date and venue in the top half. Put price, time, accessibility notes and contact details lower down. If there is a QR code, make it at least 20 mm wide and test it on a phone before you send the file. A QR code that only works on your screen is a small tragedy.
Set up colour for real printers
CMYK is the default for print, but it is not a magic switch. Ask your printer which CMYK profile they want. In the UK, FOGRA39 is a common starting point, but local printers may have their own. If you are using a photo, check it at final size: 300 ppi at A4 is very different from 300 ppi at A3. A phone photo that looked fine on Instagram may not survive an A3 window poster.
Use 100K black for small text. Save rich black - something like 40C 30M 30Y 100K - for large solid black areas, and keep total ink coverage under the printer's limit. Bright RGB greens and oranges will dull in CMYK, so choose colours that can survive the conversion. Soft-proof with the printer's profile if you have it. And do not trust your office inkjet as a proof for a litho print run. It is a useful sanity check, not a contract.
Make it reusable and foolproof
Save the master as a .psd with a clear name: VillageHall_Poster_Master_2026.psd. Lock the background and any guides you do not want moved. Colour-label the groups so future-you knows what is what. Put a hidden 'notes' group at the top with the printer's specs, the bleed size and the date the template was last checked. When you duplicate it for a new event, use Save As and rename immediately. Do not edit the master. Ever.
Create two export actions: one for print PDF and one for a social JPEG. The social version should be RGB, 1080 x 1350 px, and should not include the bleed. The print version should keep the bleed and be checked at 100% for text near the safe margin. If your printer wants a PDF/X file with crop marks, be honest about Photoshop's limits. For text-heavy posters, a page-layout app is often the better tool. Photoshop is fine for a photo-led poster, but do not pretend a layered PSD is a print-ready PDF.
The printer conversation checklist
Before you send anything, ask: What file format do you want - PDF, PDF/X-1a or PDF/X-4? What bleed and safe margin? Which CMYK profile? What paper stock is included in the price? What is the turnaround, and is delivery extra? Do you need crop marks? Can you send a proof? Is there a charity or community rate? What is the file-naming convention? What is the deadline for artwork?
Also confirm the boring details that ruin posters: the venue postcode, the date format, whether the event is free or ticketed, whether there is step-free access, and whether the organiser's charity number needs to appear. Check the QR code, the phone number and the email address on a second device. Run a UK English spellcheck. Then export a low-resolution JPEG for the committee to approve, and keep the print file until they say yes.
A quick pre-flight list
Text inside the safe margin. Images at 300 ppi at final size. Logo sharp. QR code tested. CMYK profile applied. Bleed present. Fonts embedded or outlined in the export copy. No RGB neon greens. Date, time, venue and price checked by someone else. File named clearly. Printer's checklist answered. Then send it, archive the master, and put the kettle on. The next fete is only a few months away.