After the Bells: Editing Rain-Soaked Hogmanay Crowd Photos Without the Waxwork Look
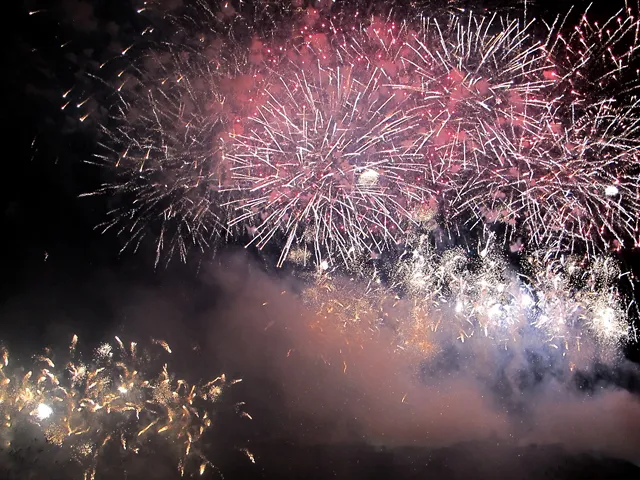
Photo: William Starkey , CC BY-SA 2.0, via Wikimedia Commons
There is a particular kind of photograph that only exists between about eleven at night and one in the morning on the first of January. The pavement is slick, the floodlights are doing something unkind to everyone's complexion, and there is a stranger's shoulder in the bottom left corner. It is not a studio shot and it was never going to be.
The temptation, once you get the files home, is to push them somewhere they were never meant to go: skin smoothed to plastic, noise scrubbed to nothing, colour balanced until the whole scene looks like a hotel lobby. Resist it. A Hogmanay crowd should still look cold.
Look before you lift a slider
Open the folder and go through the frames at fit-to-screen size before you edit anything. What you are looking for is not the sharpest shot but the one that carries the night. A slightly soft frame of two people laughing under a string of bulbs will beat a technically crisp photo of the back of someone's anorak every time.
Make a note of the problems you actually have rather than the ones you assume you have. High ISO grain, a green cast from a LED floodlight, blown highlights on a wet jacket — each of those needs a different tool and a different amount of restraint. If you start with a preset that claims to fix everything, you will spend the next hour undoing it.
Take the noise down, not out
Most Hogmanay shots are taken at ISO 3200 and above, and the noise is real. In Camera Raw or Lightroom, the Denoise option under Enhance is the sensible first stop for anything shot at 6400 or beyond, but watch what it does to wool, hair and sequins. Zoom to 100% and look at the texture of a coat sleeve, not just at a patch of empty sky.
If you are working in Photoshop proper, the Reduce Noise filter with the preserve-detail slider somewhere around 40 to 50 is usually enough for social media and small prints. Better still, apply it on a duplicate layer, add a mask, and paint the effect back off the faces. Grain on a dark street reads as atmosphere; grain on a cheek reads as a mistake.
Keep colour noise reduction higher than luminance noise reduction. The chroma speckles are what make a night shot look cheap, and they are the easiest thing to remove without anyone noticing.
Mixed light is the real enemy
The colour problem on a Scottish street at midnight is not one cast, it is four. Sodium street lamps pull orange, LED festoon lights pull green or magenta, a nearby shop window pushes out something close to daylight, and someone's phone torch does whatever it likes.
Do not try to fix that with a single white balance slider. Pick the light that matters most — usually whatever is on the faces you care about — and correct for that, then handle the rest with local adjustments. A graduated filter or a brush with a temperature shift over the background will sort out the green floodlight without turning the people into lobsters.
A quick trick worth keeping: add a Black and White adjustment layer on top while you work on colour. It strips the distraction away and shows you whether your tonal separation is actually any good. Turn it off when you are done and the colour will usually look more convincing than it did before.
Faces that still look like they were outdoors
Rosy cheeks are not a flaw. Cold noses are not a flaw. What looks wrong is the smooth, even, faintly glowing face that appears when someone reaches for a blur tool at midnight.
Aim for a light touch: a Curve with the shadows lifted just a touch, a small amount of Texture reduction on the skin only, and a hint of warmth added selectively rather than globally. If you use frequency separation, keep the low-frequency layer nearly untouched and work almost entirely on the high-frequency one.
For the eyes, a gentle dodge on the iris catchlight is plenty. Anything more and you will have a crowd of people who look like they have been lit by a ring light in a kitchen, which is not what the photograph is about.
Watch the whites as well. Wet hair and shiny foreheads catch specular highlights that go pure white and stay there. Pull those back with a targeted Curves adjustment rather than darkening the whole image.
Tartan, glitter and the red channel
Dark reds and blues are where Photoshop quietly runs out of room. A saturated tartan can clip in the red channel long before anything else in the frame does, so check with a quick threshold or the histogram before you push Vibrance up.
Prefer Vibrance to Saturation on crowd shots. It leaves already-saturated colours alone and lifts the ones that need it. If a kilt is going magenta under the streetlights, a Hue/Saturation layer with the reds selected and a small hue shift will usually do more than a global correction.
Glitter and sequins are a law unto themselves. Do not add clarity to them. It turns sparkle into grit.
Let the wet pavement stay wet
Reflections on a rain-soaked street are half the picture. The instinct to crush the blacks and lift the highlights will flatten them into grey mush. Instead, keep the shadows where they are and use a soft dodge on the brightest part of each reflection to bring it forward.
If the highlights are genuinely blown, a small Highlights recovery is fine, but do not chase a pure white streetlight back to detail. Nobody minds a bright lamp.
Decide what you are not going to fix
Some frames should be left alone. Breath vapour, drizzle caught in a flash, a bit of motion blur on a dancer — all of that is evidence. If a photo has one strong moment in it, that moment will carry a few imperfections without complaint.
What you should fix is anything that distracts from the subject: a stray elbow, a signpost through someone's head, a bright bin bag in the corner. A quick Content-Aware Fill or a crop will sort most of those, and it is time better spent than another pass at the noise.
Get them out the door before the group chat moves on
Export for the way these photos will actually be seen — phones, mostly, plus the occasional small print for someone's mum. sRGB, around 2048 pixels on the long edge, and a modest amount of output sharpening. Anything bigger is wasted on a WhatsApp thread.
If you are handing over a set for a community group or a local pub's page, keep a consistent look across the batch. Same white balance treatment, same noise settings, same export size. Nobody wants the Hogmanay album to look like it was edited by six different people, even if it was.
And when you are done, keep one frame untouched. The one with the wet hair and the red nose and the friend who is mid-laugh. It will be the one people ask for.