When the Star Won't Stand Still: Editing School Nativity Photos with a Light Touch
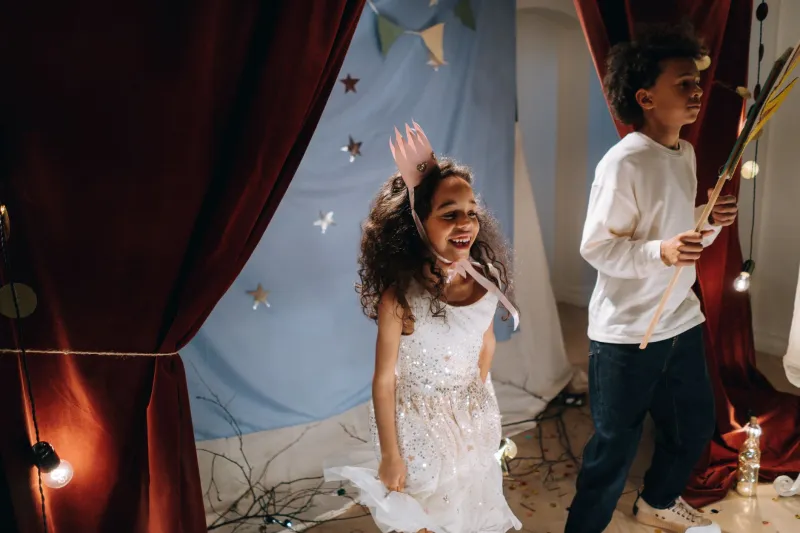
Every December, someone in the school hall ends up holding a camera phone above a sea of bobble hats while a five-year-old in a tea-towel headdress announces, with great seriousness, that there is no room at the inn. The resulting photos are often orange, grainy, slightly blurred and completely wonderful. The trick is to edit them without sanding off the wonder.
This guide is for the parent, helper or PTA photographer who has come home from the 2026 nativity with 300 frames and a vague sense that Photoshop ought to be able to help. It can — but only if you aim for honest keepsakes rather than glossy studio portraits.
Cull like a parent, not a sports photographer
Start by ignoring most of what you shot. A nativity is not a football match; you do not need twelve near-identical frames of the back of Mary's head. Look for faces, expressions and the story beats: the angel's first line, the innkeeper's shrug, the sheep's slow surrender to the floor.
Keep maybe 20 to 30 images from the whole performance. If you are editing for the school programme, pick a handful of strong, clean frames rather than trying to rescue every blurry snap. Keep one chaotic wide shot as well — the one with the wonky star and half the cast looking the wrong way. That is the photo people will actually remember.
Sort the colour cast before you touch anything else
Village halls are a lighting nightmare. You may have tungsten downlights turning white angel wings a warm peach, LED stage lights pushing a green tint through the tinsel, and a blue-ish window behind the audience. A global white balance tweak will only get you so far, but it is still the first move.
Open the image in Camera Raw or use Filter > Camera Raw Filter in Photoshop. Look for something neutral in the scene: a white shirt, a grey wall, a sheet of paper in the programme. Avoid using tinsel or shiny costumes as your reference — they reflect whatever colour is nearby. If you remembered a grey card, great; if not, use the white of an eye or a plain painted wall and make a small, sensible adjustment.
For mixed lighting, do not chase perfection. Warm the faces slightly, cool the highlights if they have gone yellow, and accept that the fairy lights will stay a bit orange. They are supposed to be.
Rescue faces, not fairy lights
Dim halls push you towards lifting shadows and brightness. Do it gently. Raise the Shadows slider a little, pull back Highlights where white costumes are clipping, and use a Curves adjustment with a soft hand. If you brighten the whole frame too much, the hall starts to look like a showroom and the children look flat and grey.
Mask the faces if you need to. A simple luminance mask or a loose brush selection over the main characters lets you lift exposure where it matters without turning the stage curtains into a muddy mess. Do not worry about blown-out tinsel. A few clipped sparkles are fine; a clipped face is not.
Treat noise as grain, not a crime
High ISO noise is almost guaranteed. Modern denoising tools are excellent, but the temptation is to overdo it. Children's faces should not look like they have been through a car wash. Apply noise reduction at 100% zoom, then check the image at print size. If the grain is visible but not distracting, leave some. A little texture keeps the photo from looking plastic.
Sharpen last, and sparingly. A small amount of output sharpening for print is usually enough. If you are sending images to the school newsletter, sharpen for screen instead and keep the file size sensible.
Protect natural skin tones
This is the bit that separates a keepsake from a cautionary tale. Children's skin should not go orange, magenta or waxy. Use a Colour Sampler to check a cheek and a hand, then adjust with small Curves or Selective Color moves. A tiny lift in warmth can help under tungsten, but stop before everyone looks like they have been tangoed.
If you are working on a group shot, mask different faces and adjust them separately. The angel under the spotlight may need less warming than the shepherd in the corner. Check hands and necks too — they are often a different colour from faces and can give the game away.
Leave the tinsel and the reluctant sheep alone
Tinsel is designed to catch light and ruin your day. Cloning out every sparkle is a waste of an evening. Instead, reduce distractions with local dodge and burn: darken a bright patch of foil behind a face, soften a distracting edge, or crop a little tighter. Do not remove the chaos entirely. The sheep who has given up and is lying down during the final carol is not a flaw in the photograph; it is the photograph.
Similarly, resist the urge to replace expressions. A nervous innkeeper or a star who has forgotten the words is part of the performance. Edit for legibility, not for perfection.
A simple print kit for the school programme
For the programme, prepare two versions: a small, bright web JPEG for the newsletter or school website, and a print-ready file in sRGB for the local lab. Crop consistently if several images will sit together. A 6x4 print is usually plenty for a keepsake, and it is cheap enough for the PTA to order a set without a whip-round.
Do not add fake snow, fake bokeh or a heavy vignette. A clean border and a sensible crop will do more for the photo than any decorative flourish. Name the files clearly — nativity-2026-angel-01.jpg is better than IMG_4832-final-final.jpg.
Know when to stop
A good nativity photo should still feel like it was taken in a school hall on a cold December evening. If you have removed every colour cast, every bit of grain and every sign of chaos, you have probably removed the memory too. Fix what stops people seeing the faces; leave what makes them smile.
And if the sheep refuses to cooperate, that is fine. Some things are not Photoshop problems.